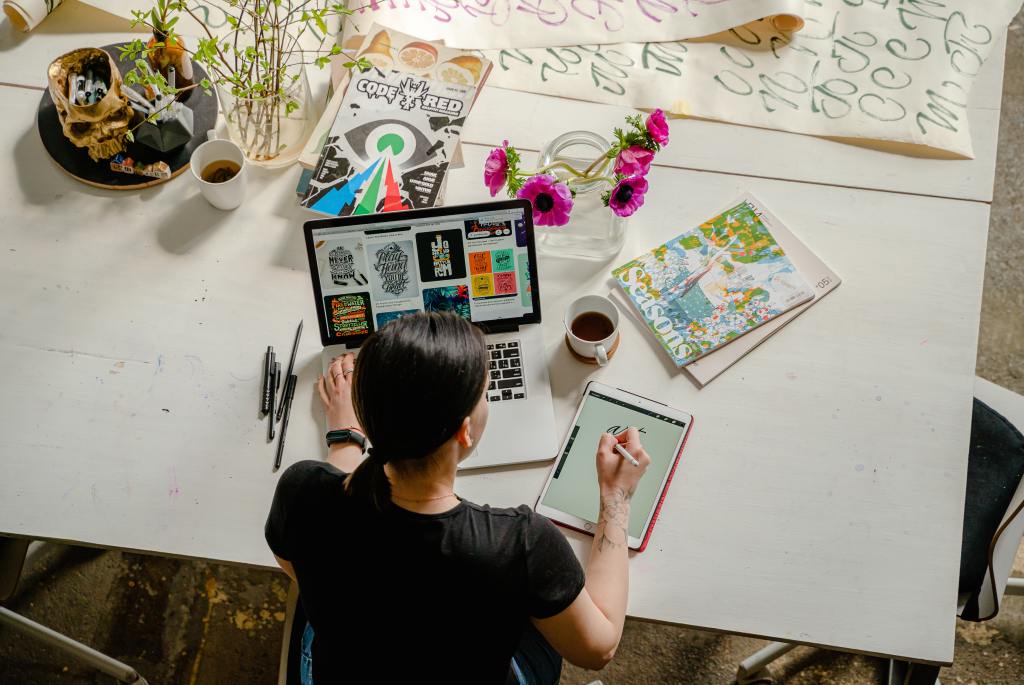
Digital paper has revolutionized the world of arts and crafts, offering a wealth of captivating designs and patterns for creative minds to explore. As the perfect fusion of technology and traditional materials, digital paper brings a fresh perspective to your artistic endeavors. In an ever-evolving world, it’s more important than ever to nurture our creativity and find innovative ways to express ourselves.
In this article, we’ll unveil five unique and inspiring ways to incorporate digital paper into your arts and crafts projects, ranging from personalized greeting cards to distinctive home decor. Whether you’re an experienced artist or a crafting newcomer, these ideas are sure to ignite your imagination and guide you in creating something truly exceptional. So, let’s embark on this exciting journey and unlock the boundless potential of digital paper!
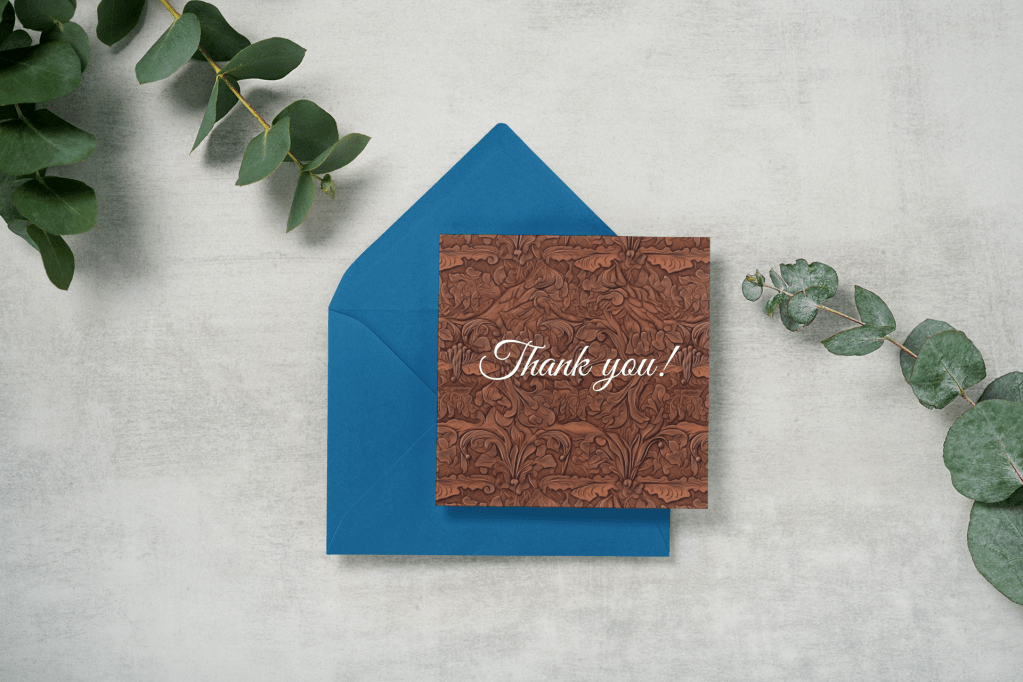
1. Custom Greeting Cards
Personalizing cards for holidays, birthdays, and special occasions
There’s no better way to show your loved ones you care than with a handmade, personalized card. Digital paper allows you to create custom greeting cards for all occasions – be it holidays, birthdays, or special milestones. By selecting an eye-catching digital paper design, you can craft a card that truly conveys your sentiments and reflects the recipient’s personality.
How to choose and apply digital paper designs for cards
To create the perfect custom card, start by browsing through various digital paper collections to find a design that resonates with the occasion and the recipient’s taste. Consider harmonizing colors, patterns, and themes to make your card visually appealing. Once you’ve chosen your digital paper, print it on high-quality cardstock and trim it to the desired size. You can then add your message, embellishments, or even combine multiple digital paper designs for a more intricate look.
Tips for creating professional-looking cards
- Use a high-resolution printer to ensure your digital paper design is crisp and vibrant.
- Invest in premium cardstock for a more professional and sturdy feel.
- Utilize a paper trimmer or craft knife for clean, precise cuts.
- Add depth and dimension to your card with 3D elements, such as foam tape or die-cut shapes.
- Experiment with various techniques like embossing or stamping to enhance your design further.
By following these tips and incorporating digital paper into your custom greeting cards, you’ll be able to create memorable, heartfelt keepsakes that your loved ones will cherish for years to come.
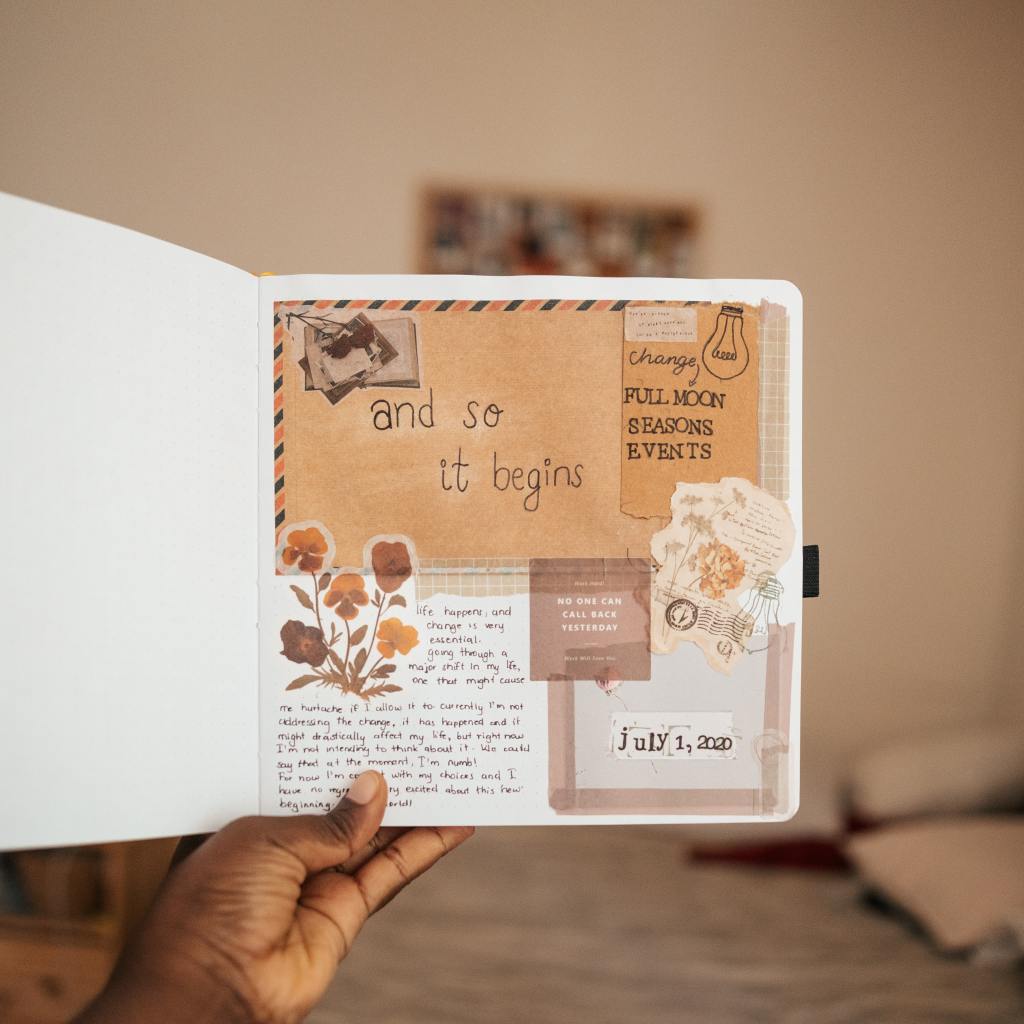
2. Scrapbooking and Memory-Keeping
Importance of preserving memories
Scrapbooking is a beautiful way to preserve memories and tell the stories of our lives. By incorporating digital paper into your scrapbook layouts, you can add a touch of personalization and creativity, making each page a unique work of art that captures the essence of your cherished moments.
Incorporating digital paper as backgrounds, borders, and embellishments
Digital paper offers a myriad of possibilities for enhancing your scrapbook pages. Here are some ideas on how to use digital paper in your memory-keeping projects:
- Backgrounds: Choose a digital paper design that complements your photos and sets the tone for your page. Print it on high-quality paper and use it as the base for your layout.
- Borders: Frame your photos with digital paper borders to make them stand out. Experiment with different patterns and widths for added visual interest.
- Embellishments: Create die-cuts, stickers, or journaling cards using digital paper designs. These elements can add texture, depth, and a cohesive theme to your pages.
Tips for creating cohesive and visually appealing scrapbook pages
- Stick to a color palette: Select digital paper designs that share a common color scheme for a harmonious layout.
- Balance elements: Distribute photos, embellishments, and digital paper accents evenly across your page to create visual balance.
- Layering: Use layers to add depth and dimension to your pages. Layer digital paper designs with photos, embellishments, and text for a dynamic look.
- Tell a story: Arrange your digital paper elements in a way that guides the viewer through your memories and highlights the most important moments.
By thoughtfully integrating digital paper into your scrapbooking projects, you’ll create stunning, personalized pages that beautifully document your life’s journey.
3. DIY Party Decorations

Creating banners, cupcake toppers, and centerpieces using digital paper
Elevate your party decorations to the next level by incorporating digital paper into your DIY projects. From banners to cupcake toppers and centerpieces, digital paper offers endless possibilities to create one-of-a-kind, theme-coordinated decor that will leave a lasting impression on your guests.
- Banners: Design custom banners using digital paper backgrounds and lettering. Simply print, cut, and string together your banner pieces for an eye-catching decoration.
- Cupcake toppers: Create personalized cupcake toppers using digital paper designs. Print and cut out shapes or letters, then attach them to toothpicks or skewers to adorn your delicious treats.
- Centerpieces: Craft unique centerpieces by incorporating digital paper accents, such as flowers, vase wraps, or table numbers, into your arrangements.
Matching digital paper designs with party themes
When selecting digital paper designs for your party decorations, consider the theme, color scheme, and overall atmosphere you want to create. Whether it’s a birthday celebration, baby shower, or seasonal event, choose digital paper patterns that complement and enhance your chosen theme.
Tips for printing and assembling decorations
- Use high-quality paper: Opt for a thicker, more durable paper to ensure your decorations look professional and hold up throughout the party.
- Test print: Before printing multiple copies of your digital paper designs, do a test print to ensure colors and sizing are correct.
- Precision cutting: Use a craft knife or paper trimmer for clean, accurate cuts when assembling your decorations.
- Assembly tools: Have tape, glue, or adhesive dots on hand to securely attach your digital paper elements to your decorations.
By incorporating digital paper into your DIY party decorations, you’ll create a cohesive, personalized, and memorable event that your guests will rave about long after the celebration is over.
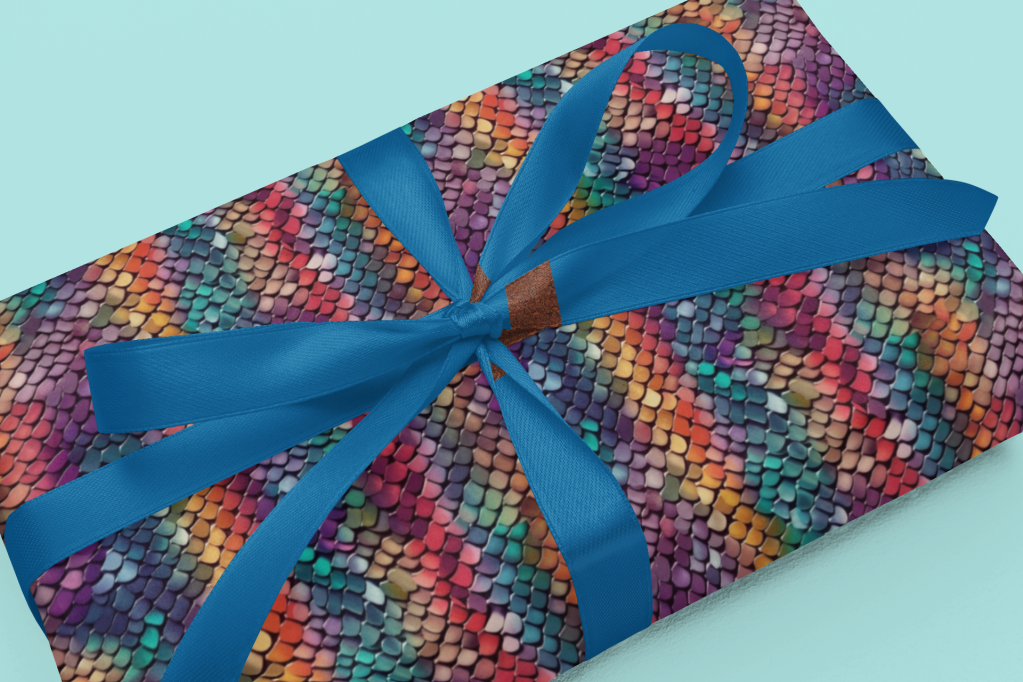
4. Personalized Gift Wrapping
Choosing the right digital paper design for the occasion
Gift-giving is a meaningful way to express our love and appreciation to others. Why not make your gifts even more special by wrapping them in personalized digital paper? The right digital paper design can enhance the overall presentation of your gift, making it a memorable and visually appealing surprise for the recipient.
When selecting a digital paper design for gift wrapping, consider the occasion, the recipient’s preferences, and the gift’s size. Choose patterns, colors, and textures that complement the event and reflect the recipient’s style.
Printing and cutting digital paper for wrapping
To create custom gift wrap using digital paper, follow these steps:
- Choose a high-quality paper: Select a thicker, more durable paper that can withstand folding and handling without tearing.
- Print your digital paper design: Ensure your printer settings are adjusted for the correct paper size and type. Print your chosen digital paper design, making sure to have enough sheets to cover your gift.
- Cut and measure: Cut your printed digital paper to the appropriate dimensions to fit your gift. Depending on the size of the gift, you may need to print multiple sheets and piece them together seamlessly.
Adding finishing touches, like ribbons and tags
To complete your personalized gift wrapping, add finishing touches that enhance the digital paper design and elevate the overall presentation. Consider these ideas:
- Ribbons and bows: Choose coordinating ribbon colors and textures that complement your digital paper design. Create bows, loops, or simple knots for added elegance.
- Gift tags: Design and print custom gift tags using matching digital paper patterns. Attach them to your gifts with ribbon or twine.
- Embellishments: Add decorative elements like flowers, stickers, or die-cuts made from coordinating digital paper designs for a unique, creative touch.
By using digital paper for personalized gift wrapping, you’ll create unforgettable, beautifully wrapped gifts that show just how much you care.
5. Wall Art and Home Decor
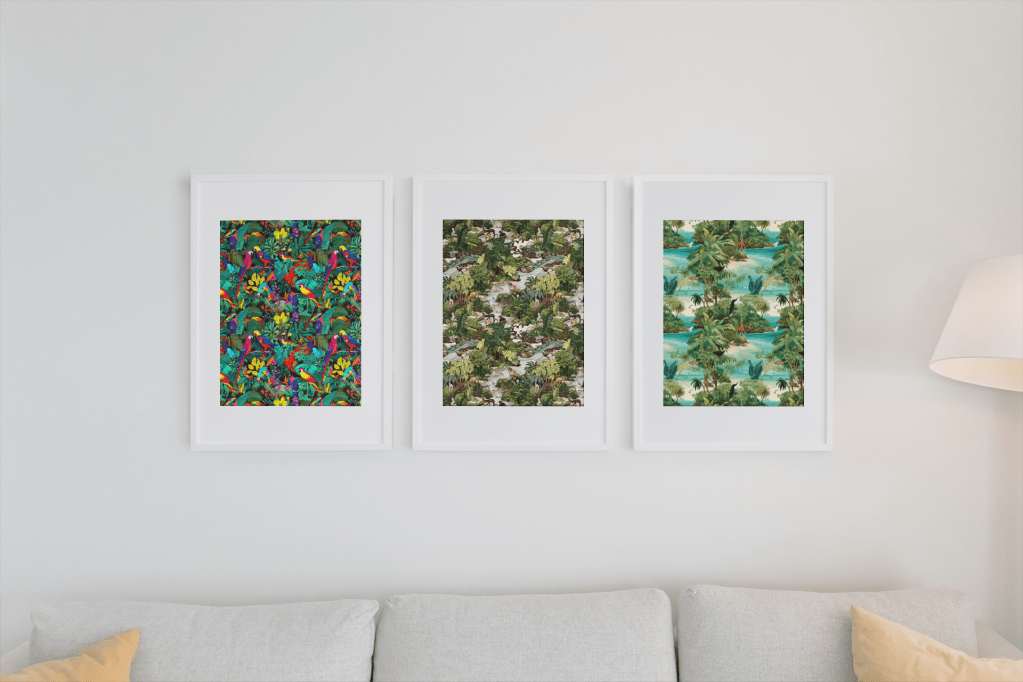
Transforming digital paper designs into canvases or framed prints
Digital paper can breathe new life into your home decor by serving as the foundation for stunning wall art. With the right design, you can transform digital paper into captivating canvases or framed prints that add personality and style to your living space. Whether you’re looking to create a statement piece or a subtle accent, digital paper offers endless possibilities to showcase your artistic flair.
Creating gallery walls with digital paper art
Gallery walls are a popular way to display multiple pieces of art in a visually engaging arrangement. Digital paper designs can make a striking addition to your gallery wall or even serve as the basis for the entire display. Mix and match digital paper patterns, colors, and sizes to create a cohesive, eye-catching layout that reflects your personal style.
Tips for selecting and arranging digital paper designs
- Choose a theme: Select digital paper designs that share a common theme or color palette to create a harmonious look in your home decor.
- Vary sizes and shapes: Incorporate different sizes and shapes of digital paper art to add visual interest and balance to your display.
- Plan your layout: Before hanging your digital paper art, plan your arrangement on the floor or use painter’s tape to outline the pieces on the wall. This will help you visualize the final result and make adjustments as needed.
- Frame and protect: To ensure the longevity of your digital paper art, consider framing the pieces with UV-protective glass and acid-free matting.
By integrating digital paper into your wall art and home decor, you’ll create a unique, personalized living space that showcases your creativity and sense of style.
Conclusion
Incorporating digital paper into your arts and crafts projects opens up a world of creative possibilities, allowing you to express yourself in innovative and personalized ways. From custom greeting cards and memory-keeping to DIY party decorations, gift wrapping, and home decor, digital paper offers endless opportunities to transform ordinary projects into extraordinary works of art. By exploring these five unique ways to use digital paper, you’ll not only enhance your artistic creations but also leave a lasting impression on those who encounter your masterpieces.
As you continue on your creative journey, remember that the potential of digital paper is limited only by your imagination. Embrace this versatile medium and let it inspire you to push the boundaries of your artistic expression. And don’t forget to visit our online shop for an extensive selection of captivating digital paper designs to fuel your future projects!
Enjoy this post or want to learn more? Keep up to date with NeoNiche by joining our newsletter!
Note that this post was written with the help of GPT-4.
Want to learn more about how I use AI to grow my business and in my other projects? Join the newsletter and follow me on my socials!
